Reset Epson Printer: Comprehensive How to Guide(2025)
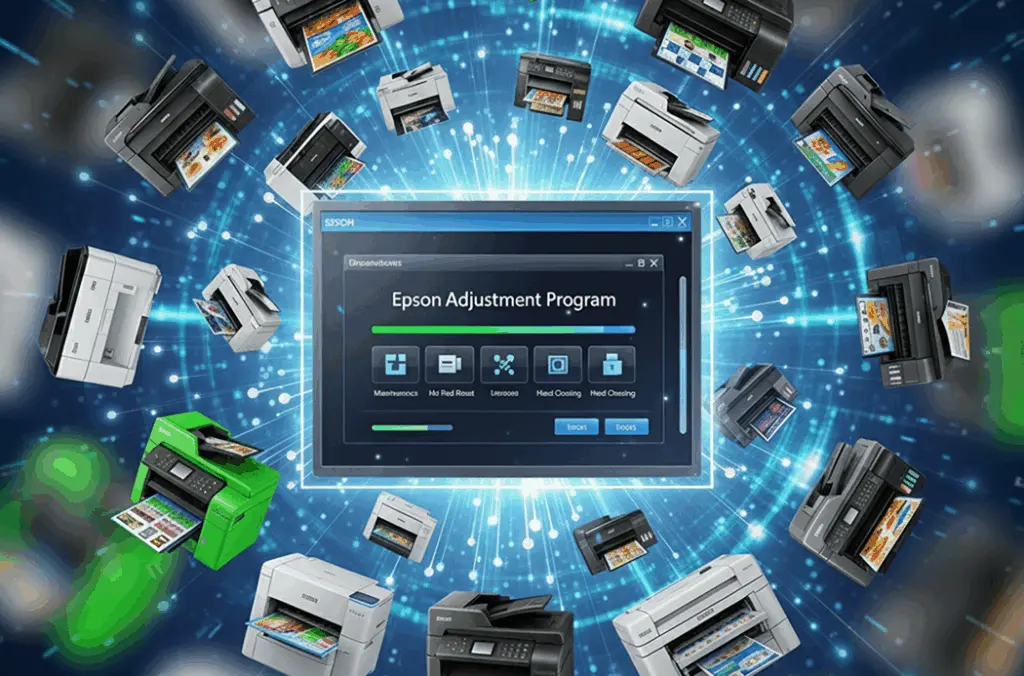
Learn how to reset Epson printer with Epson Adjustment Program in 2025. Fix “waste ink pad full” errors and service required messages with our step-by-step guide. Save money on repairs!
Learn how to reset Epson printer with Epson Adjustment Program in 2025. Fix “waste ink pad full” errors and service required messages with our step-by-step guide. Save money on repairs!
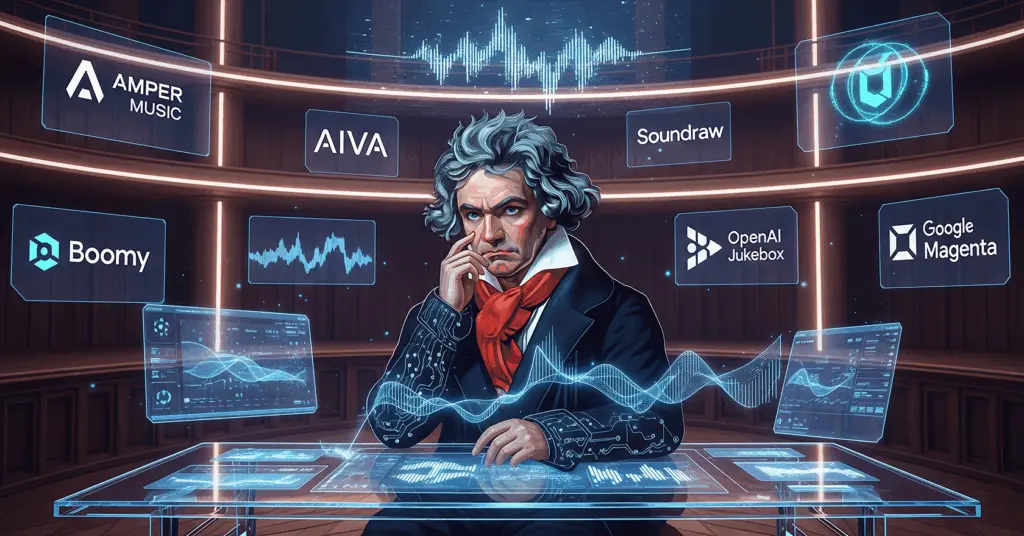
Discover the best AI music generators of 2025. From Suno AI to Beatoven.ai, explore tools that create royalty-free music, vocals, and lyrics for content creators and musicians.
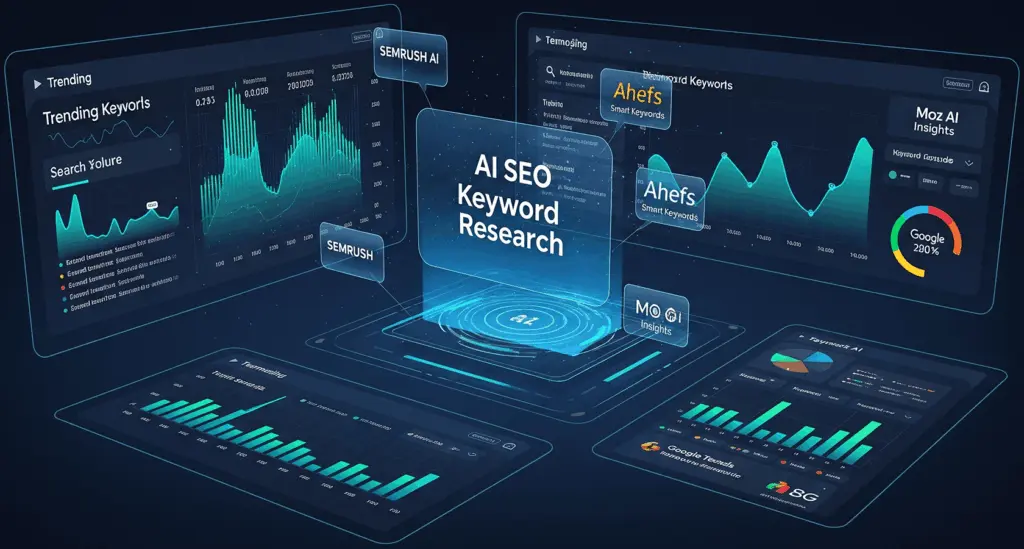
Discover powerful AI SEO keyword research strategies and tools to boost your content rankings. Learn how AI-powered SEO techniques can revolutionize your keyword analysis process.
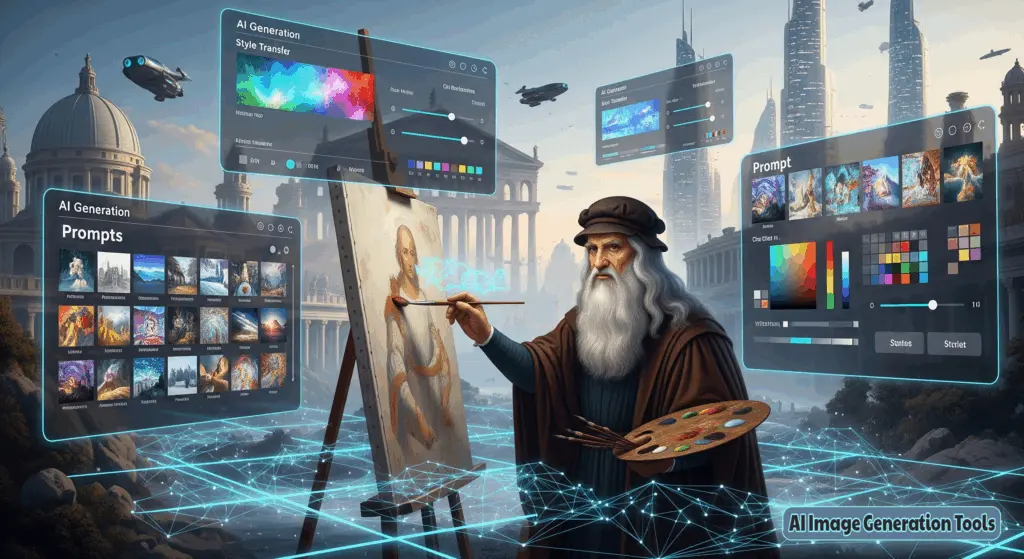
Discover the best AI image generation tools of 2025. From DALL-E 3 to Midjourney, explore 20 powerful AI art generators perfect for developers, creators, and enthusiasts.

AI Ethics Guidelines That Won’t Keep You Up at Night Meta Description: Master AI ethics guidelines in 2025 with our
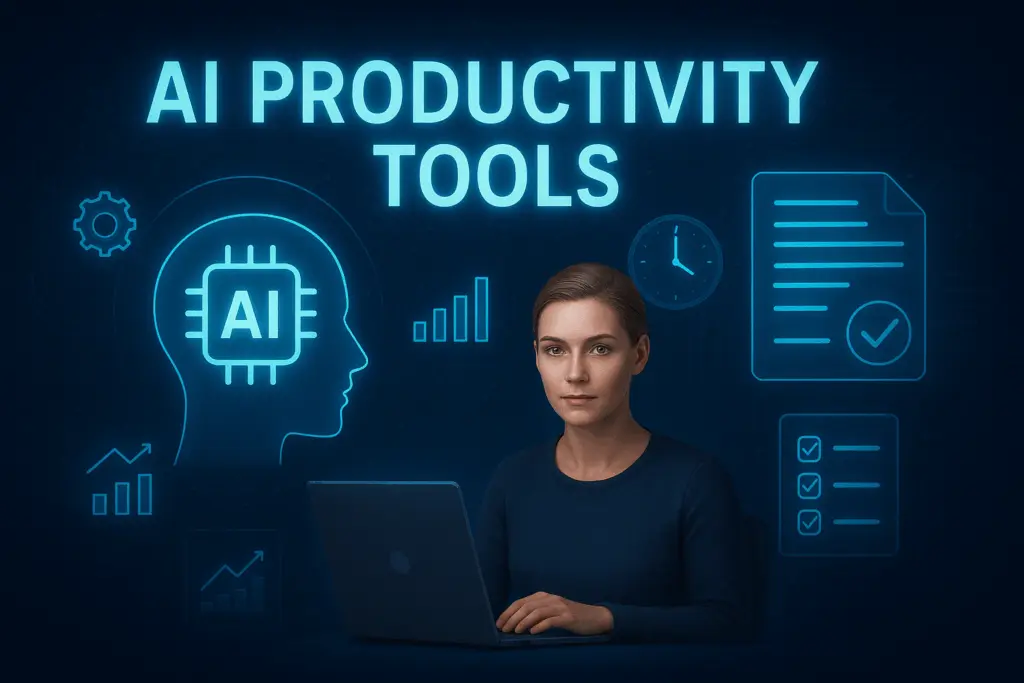
Discover the top AI productivity tools for 2025. From ChatGPT to Claude, explore 20 AI-powered apps that boost efficiency, automate workflows, and revolutionize how you work.
MSSQL Server, renowned for its robust performance and advanced analytics capabilities, has long been a staple in the database management landscape. With the rise of Linux-based systems, particularly Ubuntu, many database administrators and developers are exploring the potential of running MSSQL Server 2022 in Linux environment.
This guide provides accurate, production-ready instructions to resolve the “The web server version is sent within the HTTP header” warning on a live Ubuntu Server 24.04 running Nginx.

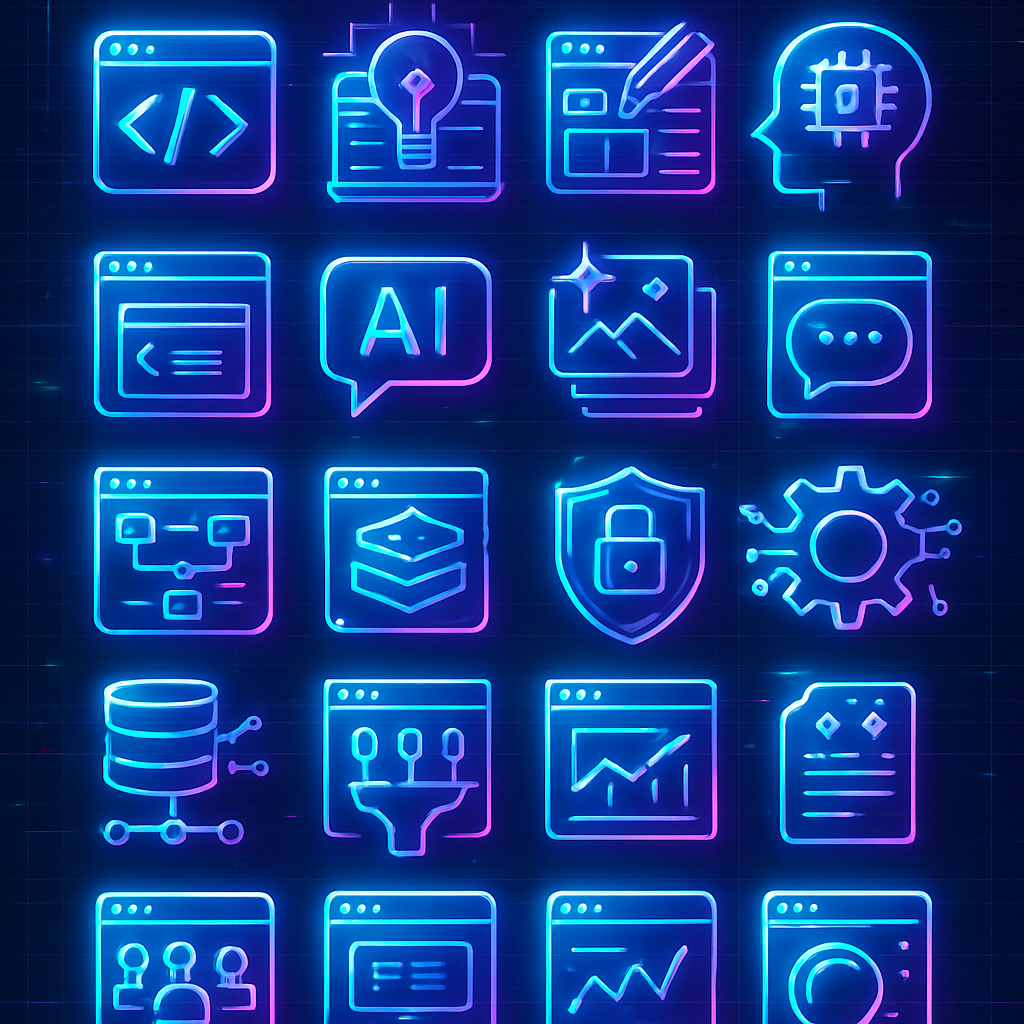
Discover the best AI development frameworks for 2025. From TensorFlow 3.0 to PyTorch, explore 20 essential tools for deep learning, NLP, and edge AI development.
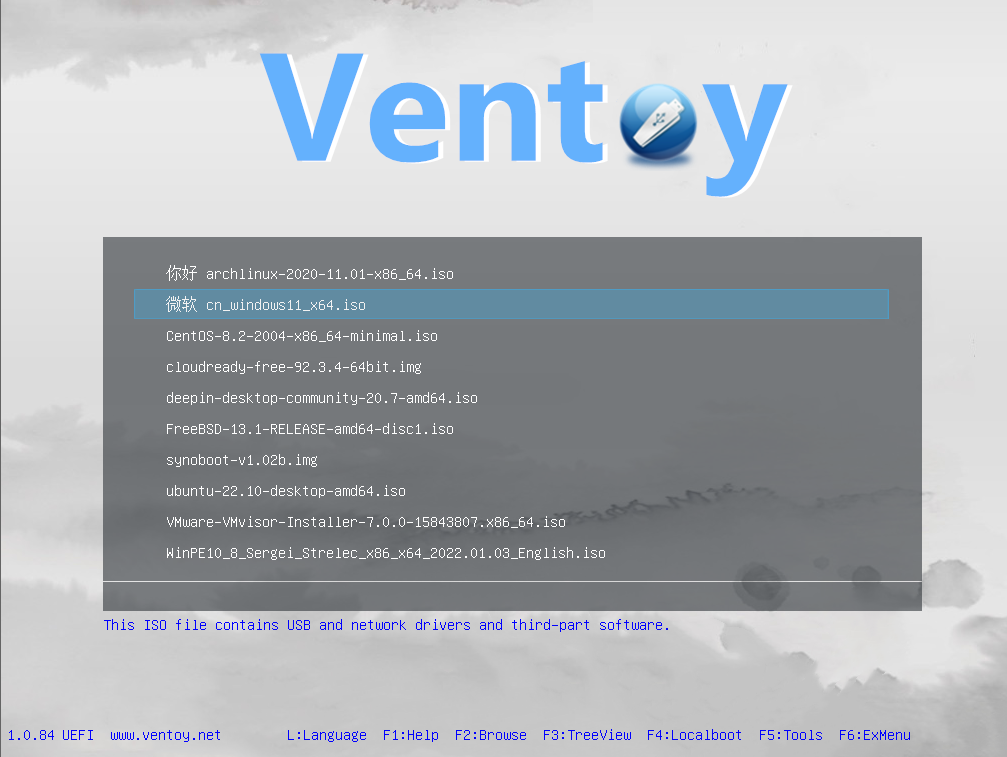
Creating a Windows Bootable USB Using Ventoy on Linux Mint. Ventoy is a versatile, open-source tool that allows you to create a multi-boot USB drive with ease.
Discover the best guide to AI website platforms 2025. From Wix ADI to Builder.ai, explore 20 powerful AI website builders that’ll revolutionize your web development process.
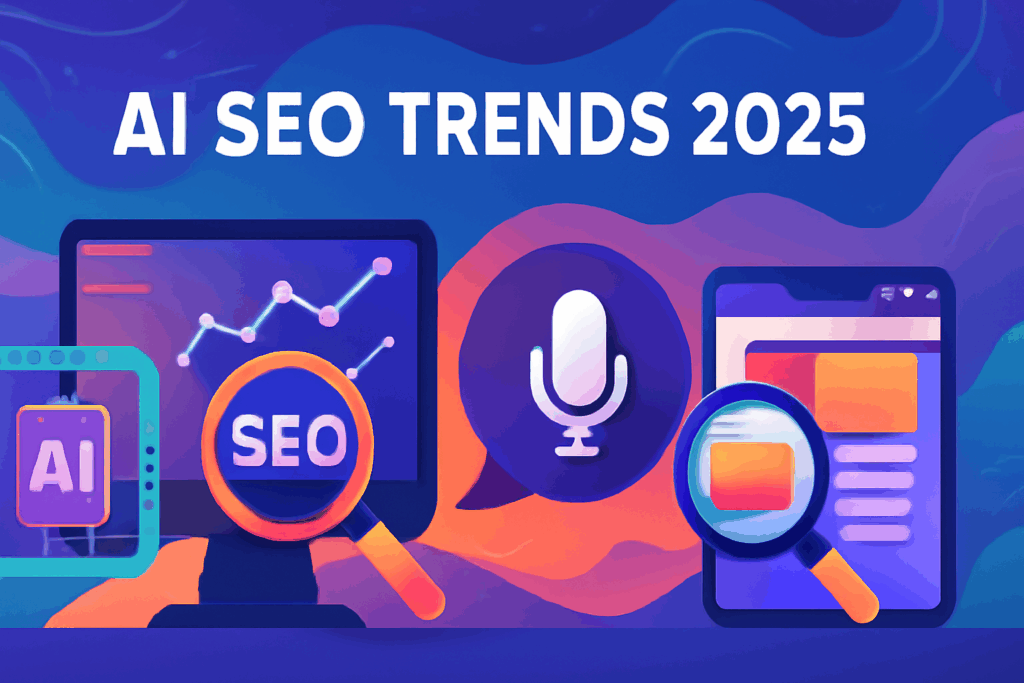
Discover the game-changing AI SEO trends 2025 that will transform your search strategy. From voice search optimization to predictive analytics.