Reset Epson Printer: Comprehensive How to Guide(2025)
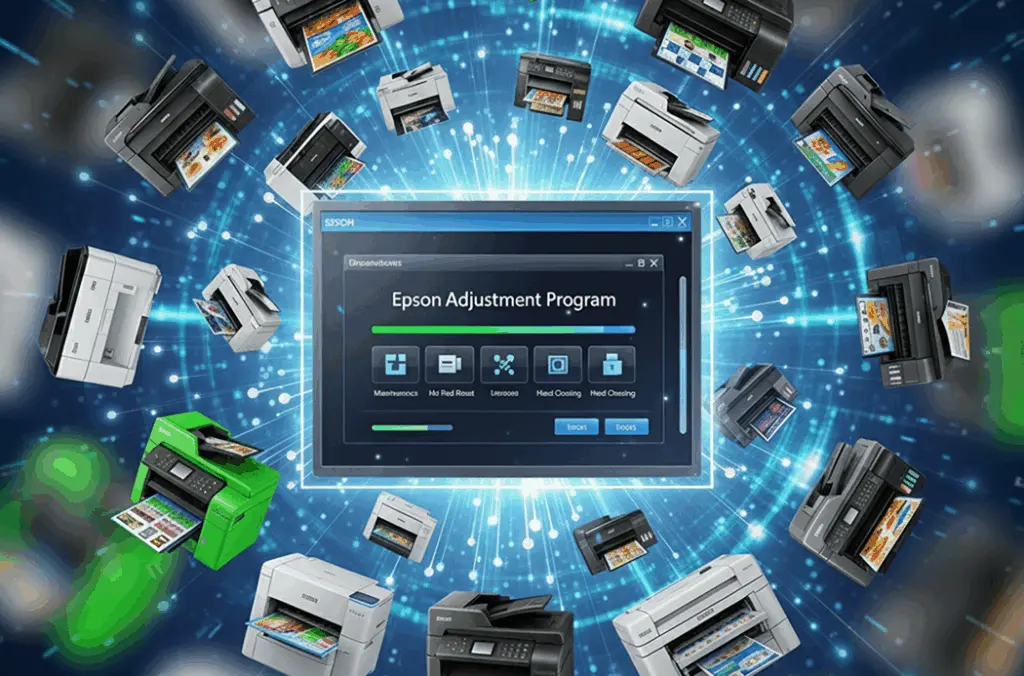
Learn how to reset Epson printer with Epson Adjustment Program in 2025. Fix “waste ink pad full” errors and service required messages with our step-by-step guide. Save money on repairs!
Learn how to reset Epson printer with Epson Adjustment Program in 2025. Fix “waste ink pad full” errors and service required messages with our step-by-step guide. Save money on repairs!
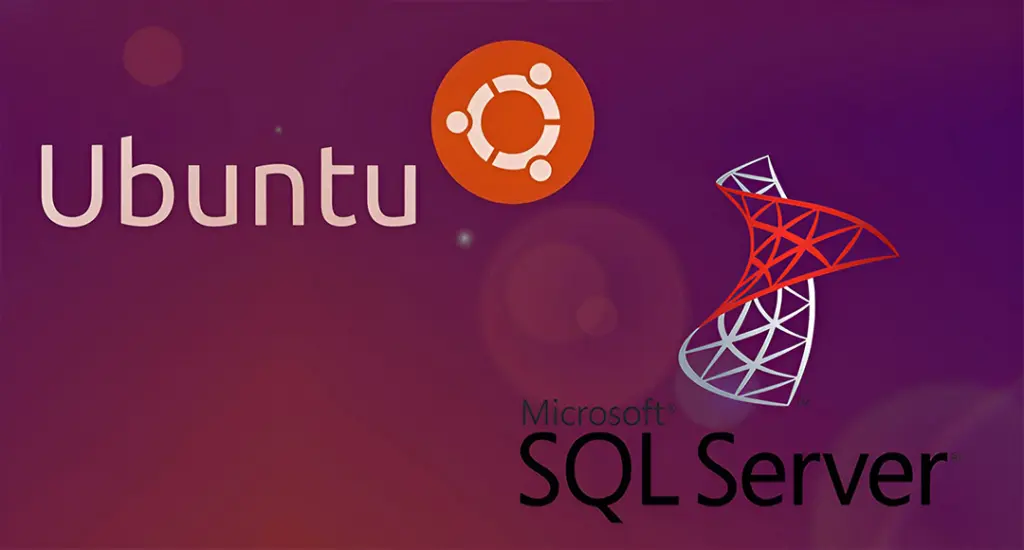
MSSQL Server, renowned for its robust performance and advanced analytics capabilities, has long been a staple in the database management landscape. With the rise of Linux-based systems, particularly Ubuntu, many database administrators and developers are exploring the potential of running MSSQL Server 2022 in Linux environment.
This guide provides accurate, production-ready instructions to resolve the “The web server version is sent within the HTTP header” warning on a live Ubuntu Server 24.04 running Nginx.
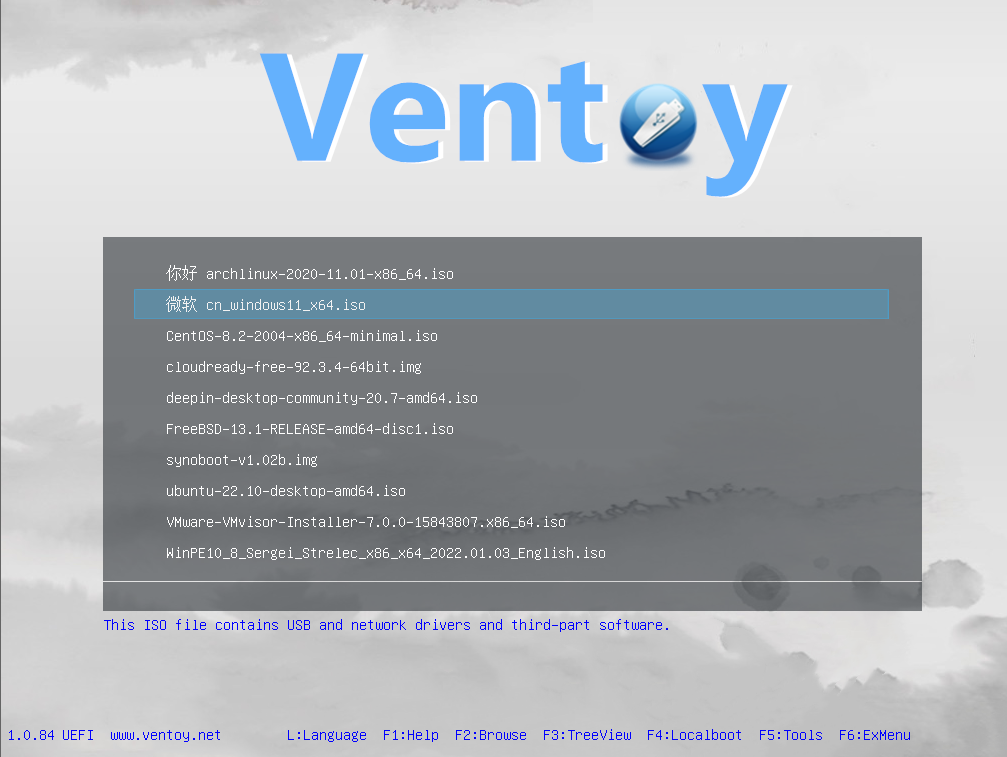
Creating a Windows Bootable USB Using Ventoy on Linux Mint. Ventoy is a versatile, open-source tool that allows you to create a multi-boot USB drive with ease.
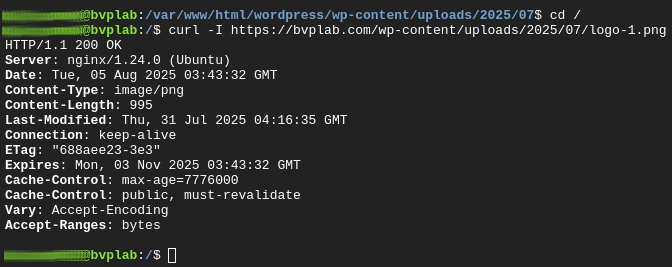
Boost your WordPress site’s SEO? Configuring Nginx Expire Headers is a powerful way to improve page load times, a key factor in Google’s CWV
Learn how to Install WordPress with MySQL Nginx on Ubuntu 24.04 GCP server. Step-by-step guide covering database setup, web server configuration, and WordPress deployment on Google Cloud Platform.

Adding Meta Descriptions to WordPress Blog Sites; Meta descriptions are HTML attributes that provide concise summaries of web pages. They appear in search engine results pages (SERPs) below the page title and URL, giving users a preview of what they’ll find on your page.