How to Create a Windows Bootable USB Using Ventoy on Linux Mint
Creating a bootable USB for Windows installation is straightforward with Ventoy on Linux Mint. Ventoy is a versatile, open-source tool that allows you to create a multi-boot USB drive with ease. This guide provides a clear, step-by-step process to help you set up a Windows bootable USB using Ventoy on Linux Mint, perfect for beginners and advanced users alike.
What is Ventoy?
Ventoy is a free tool that simplifies creating bootable USB drives. Unlike traditional methods, Ventoy allows you to copy multiple ISO files to a single USB drive, making it ideal for installing Windows, Linux, or other operating systems. It supports both UEFI and Legacy BIOS, ensuring compatibility with modern and older systems.
Prerequisites
- A USB drive (8GB or larger recommended).
- A Windows ISO file (download from Microsoft’s official website).
- A computer running Linux Mint.
- Administrative (sudo) access in the terminal.
Step-by-Step Guide to Create a Windows Bootable USB with Ventoy
✅ Step 1: Download and Install Ventoy on Linux Mint
- Open the Terminal:
- Press
Ctrl + Alt + Tto open the terminal in Linux Mint.
- Press
- Download Ventoy:
- Visit the official Ventoy GitHub page (
https://github.com/ventoy/Ventoy/releases) to find the latest release. - Use
wgetto download the Linux version. For example:Bashwget https://github.com/ventoy/Ventoy/releases/download/v1.0.99/ventoy-1.0.99-linux.tar.gz
- Visit the official Ventoy GitHub page (
- Extract the Downloaded File:
- Extract the tarball using:Bash
tar -xvf ventoy-1.0.99-linux.tar.gz
- Extract the tarball using:
- Navigate to the Ventoy Directory:
- Move to the extracted folder:Bash
cd ventoy-1.0.99
- Move to the extracted folder:
✅ Step 2: Prepare Your USB Drive
- Insert the USB Drive:
- Plug in your USB drive. Ensure it has no critical data, as it will be formatted.
- Identify the USB Device:
- Run the following command to list connected drives:Bash
lsblk - Identify your USB drive (e.g.,
/dev/sdb).Double-check the device nameto avoid erasing the wrong drive.
- Run the following command to list connected drives:
- Unmount the USB Drive:
- If the USB is auto-mounted, unmount it:ReplaceBash
sudo umount /media/your_linux_username/your_usb_devicenameyour_linux_usernamewith your linux user name, Replaceyour_usb_devicenamewith your USB’s device name.
- If the USB is auto-mounted, unmount it:
✅ Step 3: Install Ventoy on the USB Drive
- Run the Ventoy Installation Script:
- Execute the following command to install Ventoy:ReplaceBash
sudo ./Ventoy2Disk.sh -i /dev/sdXsdXwith your USB’s device name in the text line that is shown in Step 2.2. This command formats the USB and installs Ventoy, creating two partitions: one for the bootloader and one for ISO storage.
- Execute the following command to install Ventoy:
- Confirm Installation:
- Ventoy will display a success message once installed. The USB is now ready to store ISO files.
Note: This process erases all data on the USB. Back up any important files beforehand.
✅ Step 4: Copy the Windows ISO to the USB
- Download a Windows ISO:
- Obtain a legitimate Windows ISO from Microsoft’s official website (
https://www.microsoft.com/software-download).
- Obtain a legitimate Windows ISO from Microsoft’s official website (
- Mount the USB’s Data Partition:
- After installing Ventoy, the USB’s data partition (often labeled
Ventoy) will be accessible. - Open your file manager or mount it manually.
- After installing Ventoy, the USB’s data partition (often labeled
- Copy the ISO File:
- Copy the Windows ISO to the USB’s data partition:ReplaceBash
cp /path/to/windows.iso /media/your_linux_username/Ventoy//path/to/windows.isowith the ISO’s location and/media/your_linux_username/Ventoy/with the USB’s mount point.
- Copy the Windows ISO to the USB’s data partition:
✅ Step 5: Boot from the USB Drive
- Eject the USB Safely:
- Unmount and eject the USB:Bash
sudo eject /dev/sdX
- Unmount and eject the USB:
- Configure BIOS/UEFI:
- Restart your computer and enter the BIOS/UEFI settings (usually by pressing
F2,F12,Del, orEscduring boot). - Set the USB as the first boot device.
- Enable UEFI mode for modern Windows versions or Legacy mode for older systems, depending on your ISO.
- Restart your computer and enter the BIOS/UEFI settings (usually by pressing
- Boot and Install Windows:
- Save BIOS/UEFI settings and reboot.
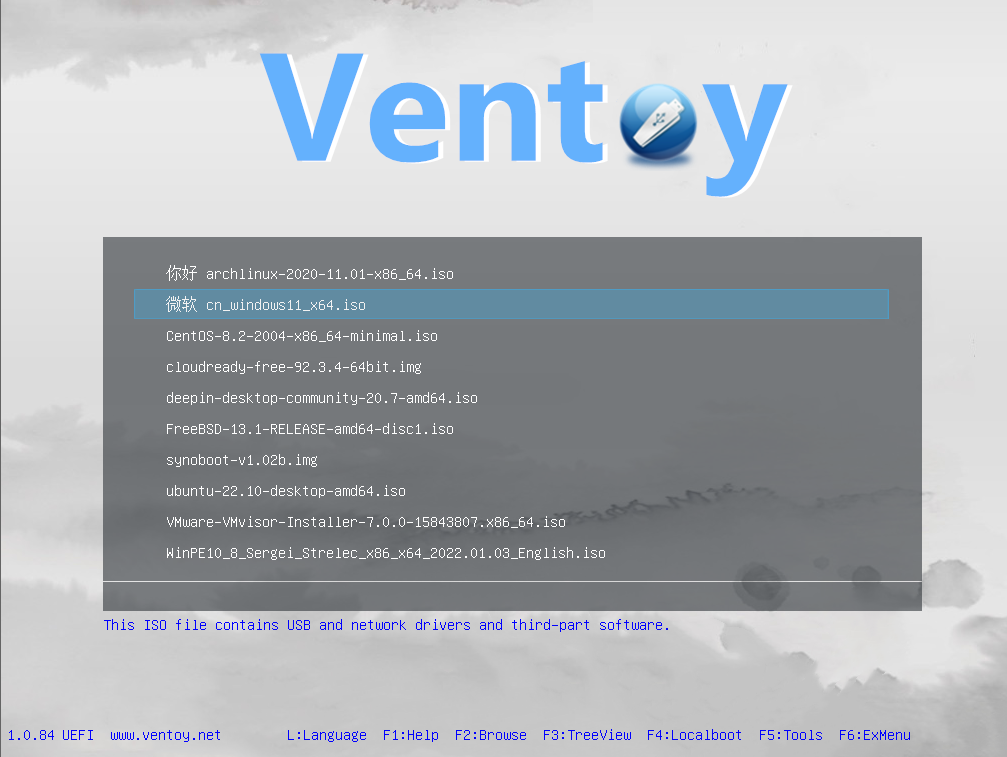
- Ventoy’s boot menu will display the Windows ISO. Select it to start the Windows installation process.
Troubleshooting Tips
- USB Not Booting?
- Verify the ISO file’s integrity using a checksum tool.
- Ensure Secure Boot is disabled in BIOS/UEFI if needed.
- Confirm the correct boot mode (UEFI or Legacy).
- Ventoy Installation Fails?
- Check that you’re using the correct device name (
/dev/sdX). - Ensure you have sudo privileges.
- Check that you’re using the correct device name (
- Multiple ISOs:
- Ventoy supports multiple ISOs on one USB. Simply copy additional ISOs to the data partition.
Why Use Ventoy?
- Multi-Boot Capability: Store multiple ISOs (Windows, Linux, etc.) on a single USB.
- No Reformatting Required: Add or remove ISOs without reformatting the USB.
- Cross-Platform: Works on Linux Mint, Ubuntu, Windows, and more.
- Supports UEFI and Legacy: Compatible with most systems.
Conclusion
Creating a Windows bootable USB with Ventoy on Linux Mint is a fast and flexible process. By following this guide, you can set up a reliable bootable drive in minutes, ready to install Windows or other operating systems. For more details, visit Ventoy’s official documentation at Ventoy.
Call to Action: Try Ventoy today for a hassle-free bootable USB experience! Share this guide with others or leave a comment if you need further assistance.